
Each case has a Fees tab. It shows the total fee, what has been paid, and what's Still owed.
Add a fee, expense or payment
Open the case → Fees → tap +. Choose what you are adding:
- Fee: what the client pays you, such as the case fee or a per-hearing fee. Write what it's for and the amount. You can add tax, or mark it as a discount.
- Expense: money spent on the case, such as court fee, travel or photocopies. Turn on Charge this to the client to add it to their bill, or leave it off if the chamber pays. You can attach a photo of the receipt.
- Payment received: money the client paid you. Choose how it was paid, and add an optional note (for example, a cheque number) to print on the receipt.
Send a bill (invoice)
- On the Fees tab, tap New bill (invoice). You can set a Pay by (date).
- Tap the bill, then:
- View to check the PDF first,
- Share on WhatsApp to send the PDF from your own WhatsApp, or
- Send to client's WakeelsApp, so they get a notification and can open it in the app.
Every bill and receipt has a QR code. Anyone can scan it to check that the bill is genuine.
Send a receipt
After you add a payment, tap it and choose Send receipt. The receipt shows this payment, the total paid so far, and what's still owed.
Approvals, for chambers with staff
When a munshi or associate adds a fee, expense or payment, it shows as Waiting for approval. The admin approves it under Manage → Approve fees and payments, or taps Send back with a reason. Once approved, an entry can't be changed. To fix a mistake, add a new entry.
See the whole chamber's accounts
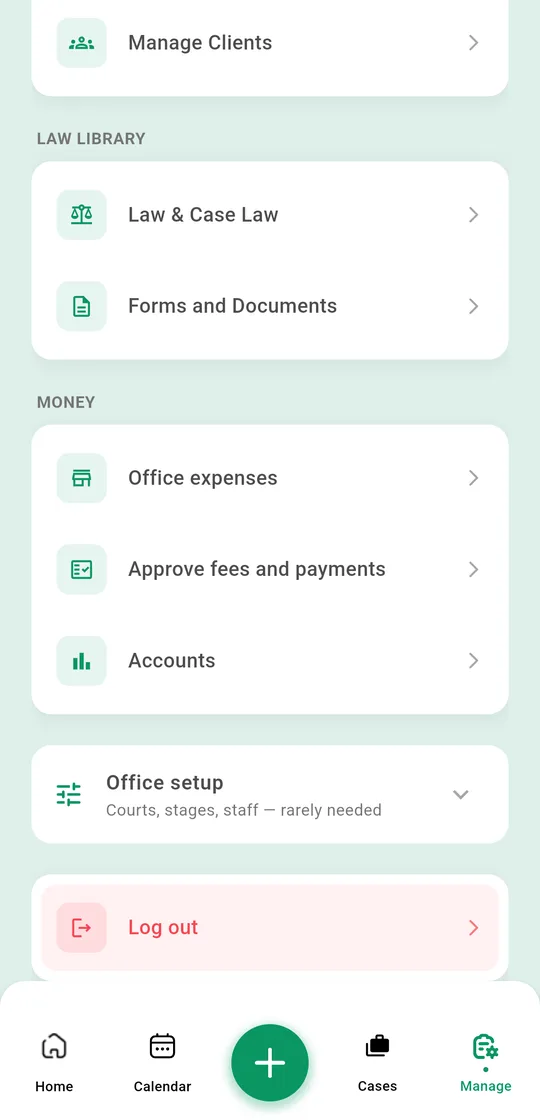
On the home screen, switch to the Fees & accounts tab for totals across every case. Manage → Accounts shows the money received by person and by payment method. You can download a PDF statement. Track rent, bills and salaries under Manage → Office expenses.